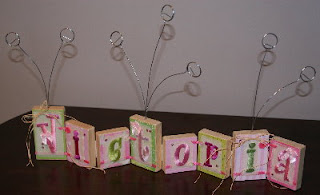
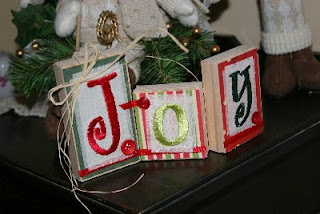
 The process was very similar, except I used a red/pink/white color theme, and used 4 blocks to form the word "love."
 I decided to base coat the blocks in a flat black paint and sand the corners.
 I used a variety of block heights to accommodate the different letter sizes.
 Next, I sized a variety of Valentine papers and secured them to the blocks using spray adhesive.
 I ran a line of glue along the bottom edge, ...
 ... then placed a ribbon onto the glue across all the blocks.
 I flipped over the blocks and secured a wide piece of ribbon across the back.
 Then flipped them again and applied the letters and some embellishments. I love this font! Coincidentally, it's called "Love Letters" -- totally appropriate!
 A little bow made out of raffia gets added to the corners.
 I decided to slice the ribbons to make the hinges, ...
 ... though it looks cute secured in a line as well. If you make hinges, you can still display the blocks in a line.
 And this begins my Valentine's Day decorating!
 Now I just have to figure out where to put it...
 I also made a single block with photo clips. Now I need to make one with "XOXO" to match.
You can also do this with stenciled letters or vinyl letters if you don't have access to an embroidery machine. Give it a try! It's very simple and you can adjust it to fit your own theme.
And be sure to check out the endless list of inspirational ideas at my home page childmade.com.

I'll be linking up on the following McLinky parties:
Thursday
Transformation Thursday
Show Off Your Stuff Party
Strut Your Stuff Thursday
Thrifty Thursday
Friday
Victory of the Week
Show and Tell Friday
Frugalicious Friday
Saturday
Saturday Night Special


