


 And I thought I would share with you how this one was done too.
 The first thing I did was cut my pieces of wood. I used a 1 x 4 that was in nice shape so it didn't require much sanding. I started by determining the length of the tallest snowman, then I adjusted the other sizes by about 2 inches each. I just did the measurements visually, so I don't know what they were exactly, but I believe the tallest one was about 18-20 inches. That's about as tall as you can go using only one hinge like I did.
 I had a family of 5, so I cut 5 pieces. I needed to decide how to arrange the wood, whether I wanted it random...
 ... or descending. I decided that in this case, I liked the descending arrangement best.
 I measured 3 1/2" from the bottom and placed the hinge. I spaced the wood apart about 3/8" to give the hinge room for movement.
 After marking the hinge holes, I used a drill to make a pilot hole in each slot. I repeated this step with each board and each hinge. I skipped every other slot, then flipped the whole arrangement so I could place the backside hinges, which filled the spaces I skipped on the flip side.
 I put in the screws temporarily, so I could test the size and functionality. I did this with all the hinges.
 Then I took it all apart and applied several coats of paint. I painted the front, back and sides, but not the top and bottom.
 I also applied a light coat of white spray paint to the hinges. Be careful not to apply too thick of a coat or it will interfere with the functionality of the hinge.
 When the paint was dry, I sanded the corners.
 Then I put the hinges in place.
 So far so good.
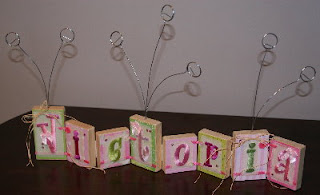
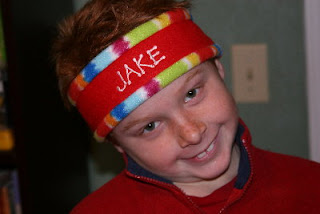
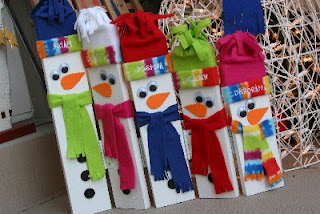
 Then I began preparing the hats. I decided to put the names on the cuff of the hats. I used an embroidery machine and made them out of fleece, but other options could be used. I think the names add a special personalized touch to the final project.
 Next, I began assembling the hats. You can see a tutorial on the hats here. For these, my initial square of fabric was 8" x 9".
 I added the cuffs with the names, alternating the height of the cuff to match the alternating height of the wood.
 I wrapped a strip of fleece around the wood and looped it in the front to make scarves.
 I used a sharp pair of scissors to fringe the ends of the scarf.
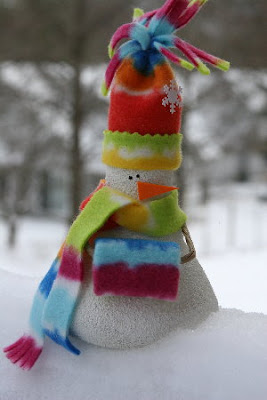
 I made the noses out of craft foam, cutting them with a pair of pinking shears to give them the textured edge. I also added google eyes.
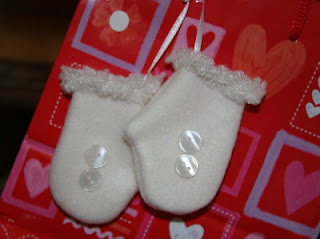
 And the last thing I had to do was add the buttons.
 And they're done!


 And an added bonus is how neatly they fold up for easy storage. That is, if you ever put them away anyway!
Share your thoughts and your examples!
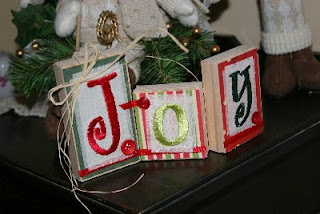
Here's a fun one done by Brooke at BrookePitcher.com. I think it turned out great! Check it out here!

And don't forget to check out the endless list of inspirational ideas at my home page childmade.com.

