Already feeling the chill this year? We sure are!! Of course, for me, anything below 65 is too cold, so the temps we've been having in the teens is way below my comfort level. I'm not a fan of winter here in the Midwest.

So to get around the cold, I spend my time indoors trying to make it at least LOOK fun! Like this little earmuff snowman ornament -- it's simple and fun to do, and warms my heart. You should give it a try!
For supplies, you will need the following:
1 - 3" white ball ornament (any size can be used)
1 - 5" x 8-1/2" piece of fleece for the hat (size will vary depending upon the size of the ornament)
1 - 1" x 6" piece of coordinating fabric for the scarf
1 - small piece of orange felt for the nose
1 - 8" piece of flexible wire
4 - 1" circles of faux fur, sherpa, or fuzzy fleece
1 - 6" piece of gold string or ribbon for the hanger
1 - small rubber band
2 - snowflake embellishments (optional)
For tools, you will need glue, scissors, a pencil, black paint or marker, blush, and (optionally) pinking shears.

Begin by folding the large piece of fleece in half and stitch the edge, making a large "tube" of fabric.

Gather one end of the "tube" of fabric and secure the gather with a rubber band.

Snip the fabric beyond the rubber band into narrow strips, forming a tassel for the top of the hat.

Trim the other side of the tube of fabric with the pinking shears, to make a decorative edge.

Fold back the end of the fabric to form a cuff.

Tuck the hanger of the ball ornament into the opening of the hat.

Glue lightly in place, leaving the bottom edge unsecured.

Wrap the wire around the pencil, forming a loose spiral.

Slip the wire off the pencil and straighten the ends.

Glue each end of the wire between two faux fur circles.

Position the earmuffs onto the hat and glue in place.

Fold the thin piece of fleece and half, then tuck the fold into the bottom of the hat. Glue in place.

Snip fringe into the ends of the scarf.


Trim the piece of orange felt into the shape of a nose. The pinking shears add a nice edge. Glue the nose to the face of the snowman.

Use the paint or marker to add eyes and a mouth. If you're using paint, an easy way to get a nice shape is to dip the back end of a paint brush in the paint, then "dot" the paint on.

Add a spot of blush to the cheeks.

Add the snowflake embellishments to the scarf and hat. Tie the string to the wire for a hanger and you're done.

Isn't he cute??

Just in time to adorn your Christmas tree!

I bet you won't want to pack him away after Christmas...
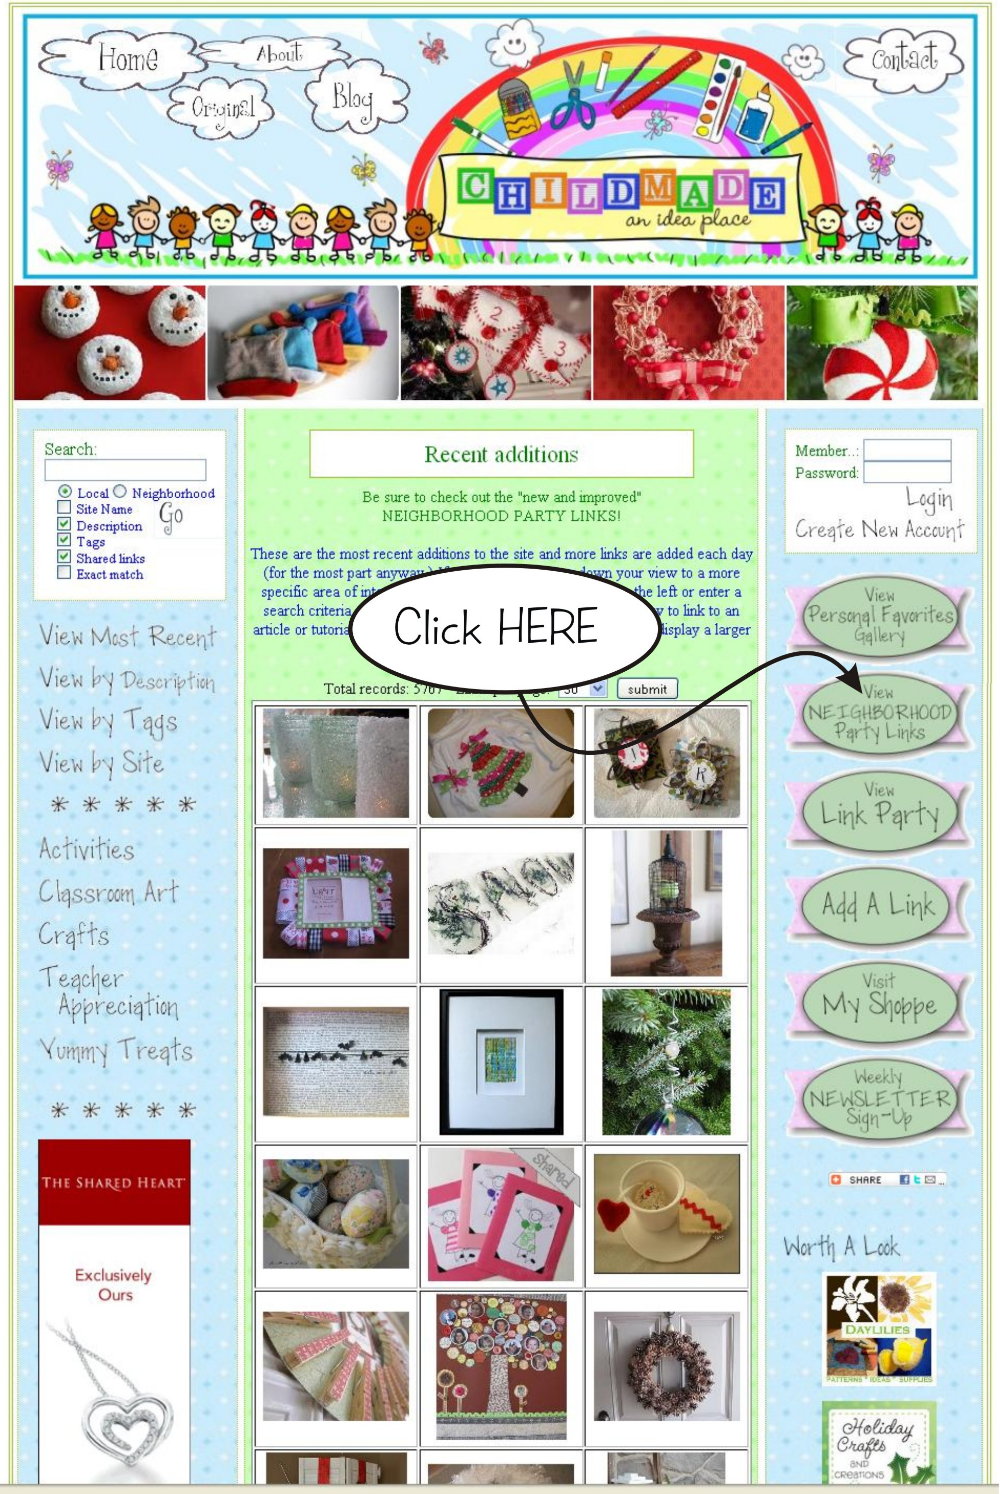
And be sure to check out the endless list of inspirational ideas at my home page
childmade.com.
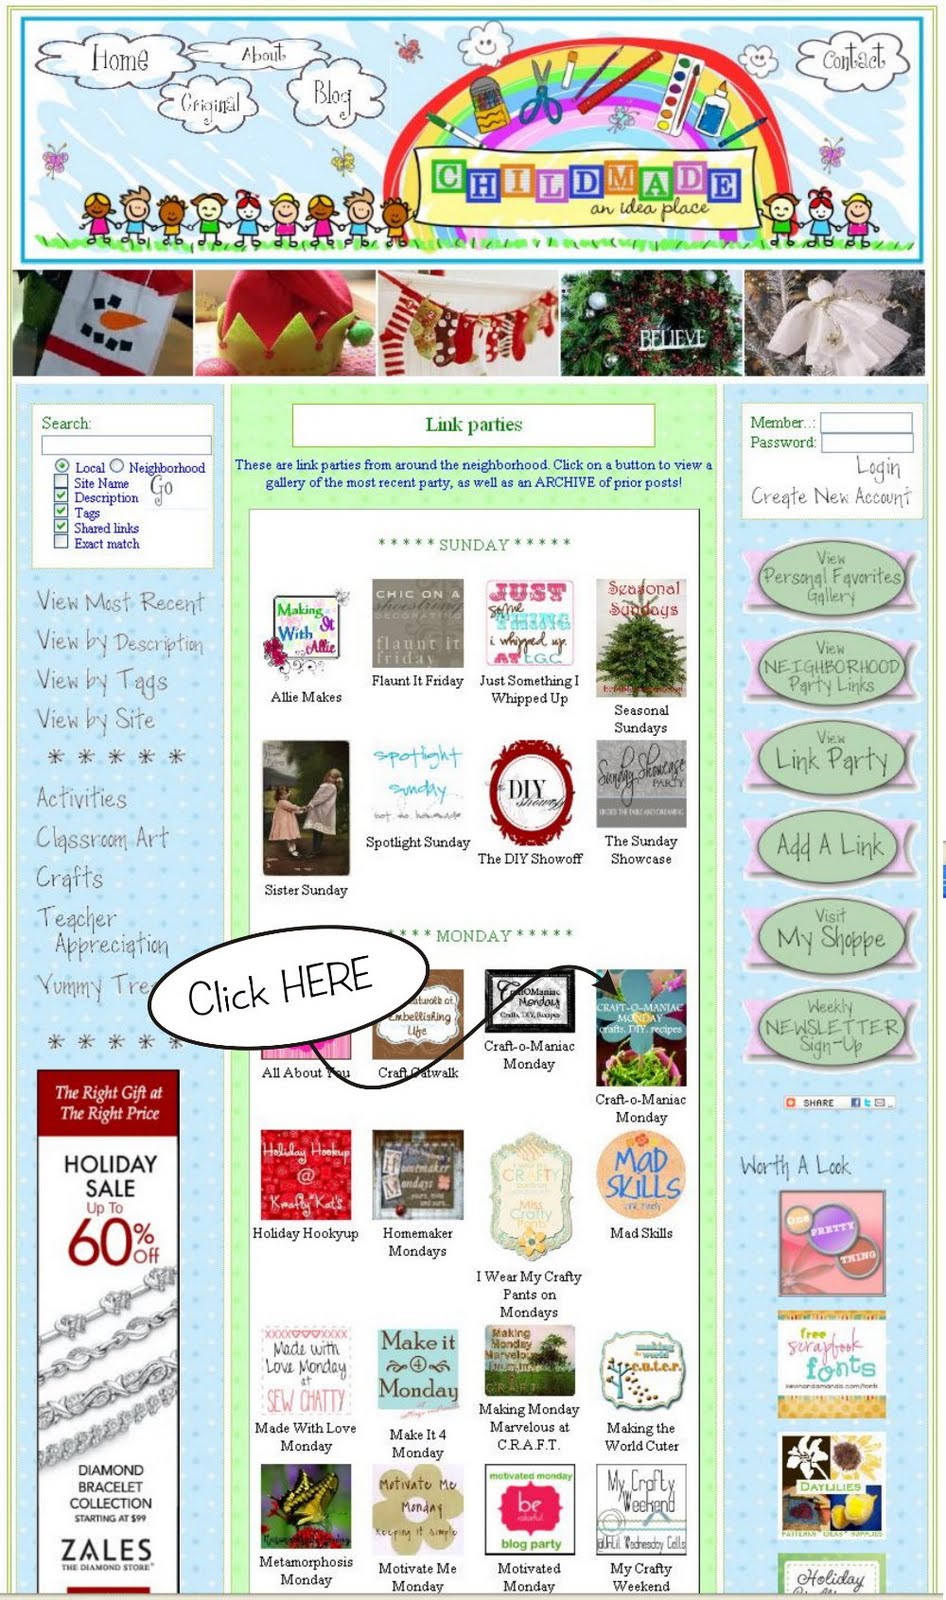
I'll be linking to some of the fabulous link parties listed on the right sidebar ... but really, that's a LOT of parties! I probably won't get to them all, but you should stop in and visit a few yourself. While you're at it, stop by my home page and add a few links there too!


 That was quite a list! Good thing they're easy to do, since I didn't decide on that until the last minute.
 I used the same method as the Wired Word Ornament Hooks, except I put a diamond bauble at the end. I could have left them as ornament hooks, but some of the names got rather long.
 What else to you give two 80-year-old grandmas that both lived through the depression and won't do anything extravagant?
 I wish they didn't have to pack them up right away. They turned out quite pretty.
 I suppose I could get them some suction cup hooks for the window and they could hang them up like sun-catchers.